
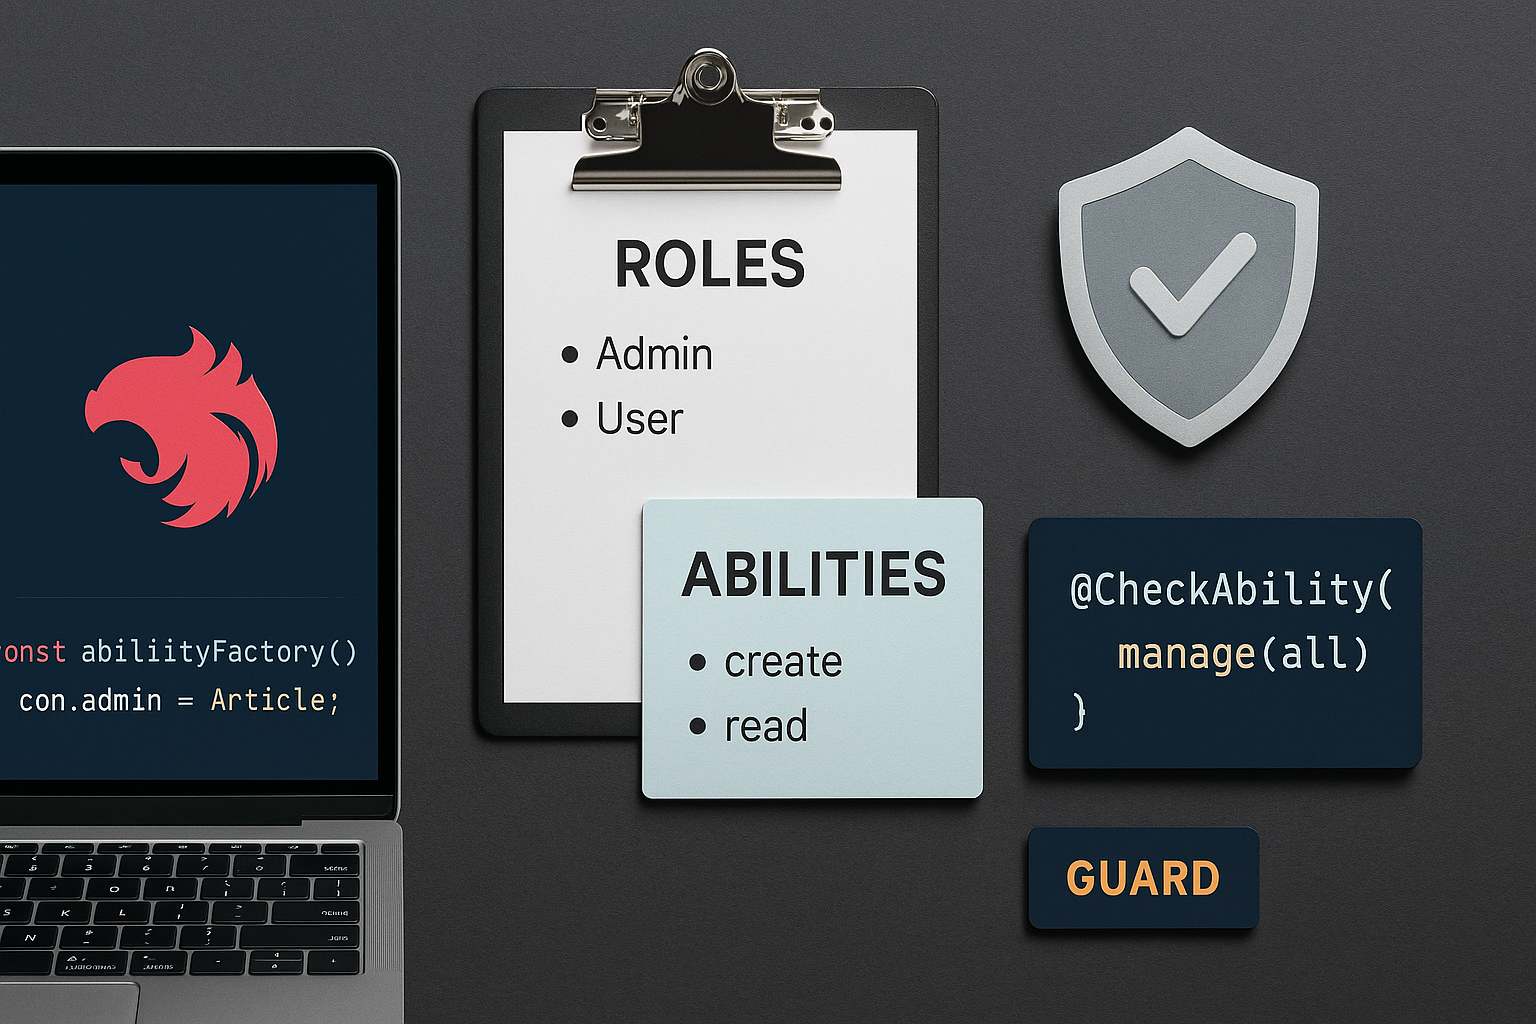
Hello, dev!
In this post, I want to share a way to organize authorization in NestJS that scales well when the project grows. Not the kind of authorization where you scatter if (user.role === 'ADMIN') all over the codebase, but something that has a clear place for every permission decision.
We already talked about authentication on the blog a few times. Authentication is the part where we answer "who are you?". Authorization is the next step, and it is a different question:
Authentication answers "who are you?". Authorization answers "what are you allowed to do?".
For the second question, I really like using @casl/ability. It gives us a declarative way to describe permissions, and it fits very naturally into the NestJS request lifecycle through guards and decorators.
This article is based on the idea behind an authorization module I worked with: one ability factory, one permission file per subject, a guard, and a small decorator to protect routes. I will rebuild that idea here from scratch with a generic example, so you can apply the same structure to your own project.
💻 The full, runnable example is on GitHub: nestjsninja/nestjs-authorization-casl.
The problem with role checks everywhere 🧠
When a project starts, authorization usually looks like this:
@Post(':id/refund')
async refund(@Req() req, @Param('id') id: string) {
  if (req.user.role !== 'ADMIN' && req.user.role !== 'SUPPORT') {
    throw new ForbiddenException();
  }

  return this.orderService.refund(id);
}
This works. The problem is what happens after six months. The same role check appears in twenty controllers, the rules slowly drift apart, and when a new role shows up, you have to hunt for every if in the codebase to update it.
The core issue is that the permission rules are mixed with the business code, and there is no single source of truth describing what each role can do.
What I want instead is:
- One place that describes all the permissions.
- Permissions grouped by subject, so they are easy to find.
- A way to protect a route declaratively, without writing role checks by hand.
- Something I can unit test in isolation.
That is exactly what CASL plus a couple of NestJS pieces give us.
Why CASL? 🎯
CASL models permissions as a pair of action and subject:
ability.can('refund', 'Order'); // true or false
You build an ability object for the current user, and then you simply ask it questions. The rules that produced that answer live in one place, completely separated from the controller.
A few things I like about it:
- The API reads almost like English:
can('read', 'Article'). - Actions and subjects are just strings, so we can type them with TypeScript unions and get autocomplete and safety.
- It supports a wildcard action called
manage(meaning "any action") and a wildcard subject calledall. - It supports conditions, so later you can go from "can this user refund orders?" to "can this user refund this order?".
Let's install it:
npm install @casl/ability
Now let's build the structure step by step.
Step 1: the roles 📋
First, a plain enum with the roles of the system. Nothing fancy here, it is just the vocabulary we will use later.
export enum Role {
  SUPER_ADMIN = 'SUPER_ADMIN',
  EDITOR = 'EDITOR',
  SUPPORT = 'SUPPORT',
  VIEWER = 'VIEWER',
}
If you use GraphQL, this is also a good place to register the enum so it shows up in the schema:
import { registerEnumType } from '@nestjs/graphql';

registerEnumType(Role, { name: 'Role' });
Step 2: the authorization user 👤
Here is a detail that I think makes the whole structure cleaner. Instead of passing the raw JWT payload everywhere and checking the roles array by hand, I like to wrap it in a small class that knows how to answer role questions.
export class AuthorizationUser {
  constructor(
    public readonly id: string,
    public readonly roles: Role[],
  ) {}

  isSuperAdmin(): boolean {
    return this.roles.includes(Role.SUPER_ADMIN);
  }

  isEditor(): boolean {
    return this.roles.includes(Role.EDITOR);
  }

  isSupport(): boolean {
    return this.roles.includes(Role.SUPPORT);
  }

  isViewer(): boolean {
    return this.roles.includes(Role.VIEWER);
  }
}
This looks small, but it pays off. The permission files will read like sentences:
if (user.isSupport()) {
  allow('refund', 'Order');
}
And if a role becomes more complex (for example, "a venue manager is any of these eleven manager roles"), you hide that complexity inside one method instead of repeating the list everywhere.
Ask the user object a question. Do not inspect the roles array in every file.
Step 3: one permission file per subject 🗂️
This is the heart of the structure and the part I care about the most. Each subject of the system gets its own file, and that file owns three things: its actions, its abilities tuple, and the function that defines the rules.
Let's start with the Order subject:
// permissions/order.ts
import { AbilityBuilder, MongoAbility } from '@casl/ability';

import { AuthorizationUser } from '../authorization-user';
import { ManageAction } from './crud';

export type OrderSubject = 'Order';

export type OrderActions =
  | ManageAction
  | 'search'
  | 'details'
  | 'refund'
  | 'sendReceipt';

export type OrderAbilities = [OrderActions, OrderSubject];

export function defineOrderPermissions(
  { can: allow }: AbilityBuilder<MongoAbility<OrderAbilities>>,
  user: AuthorizationUser,
) {
  if (user.isSuperAdmin()) {
    allow('manage', 'Order');
  }

  if (user.isSupport()) {
    allow(['search', 'details', 'refund', 'sendReceipt'], 'Order');
  }
}
A few things are happening here, so let me break it down.
OrderActions is a union type. It includes the generic manage action plus the custom actions that only make sense for orders, like refund and sendReceipt. Because it is a union, TypeScript will not let you write allow('refnud', 'Order') with a typo.
OrderAbilities is a tuple of [action, subject]. This tuple is what we pass around to describe a single permission.
defineOrderPermissions receives the CASL builder and the user, and registers the rules. I like to rename can to allow when destructuring, because can is also the method we use later to ask a question, and allow makes it obvious that here we are granting something.
Now another subject, Article, in its own file:
// permissions/article.ts
import { AbilityBuilder, MongoAbility } from '@casl/ability';

import { AuthorizationUser } from '../authorization-user';
import { CrudAction } from './crud';

export type ArticleSubject = 'Article';

export type ArticleActions = CrudAction | 'publish' | 'archive';

export type ArticleAbilities = [ArticleActions, ArticleSubject];

export function defineArticlePermissions(
  { can: allow }: AbilityBuilder<MongoAbility<ArticleAbilities>>,
  user: AuthorizationUser,
) {
  if (user.isSuperAdmin()) {
    allow('manage', 'Article');
  }

  if (user.isEditor()) {
    allow(['create', 'read', 'update', 'publish', 'archive'], 'Article');
  }

  if (user.isViewer()) {
    allow('read', 'Article');
  }
}
Notice how easy it is to read what each role can do. The whole policy for articles lives in one screen, and you do not need to know anything about controllers or HTTP to understand it.
A small helper for CRUD actions
Most subjects share the same basic verbs, so it helps to centralize them:
// permissions/crud.ts
export type ManageAction = 'manage';

export type ReadAction = 'read';

export type CrudAction = ManageAction | ReadAction | 'create' | 'update' | 'delete';
This way, a subject that only needs standard CRUD can reuse CrudAction, and a subject with special verbs can extend it, like Article did with publish and archive.
Step 4: combining all subjects 🧩
Now we need to tell CASL about every subject. I do this in two small steps.
First, a union type with all the abilities tuples. This is the type that describes any permission in the system:
// ability.interfaces.ts
import { ArticleAbilities } from './permissions/article';
import { OrderAbilities } from './permissions/order';

export type AppAbilityTuple = ArticleAbilities | OrderAbilities;
Second, an array with every define...Permissions function:
// permissions/index.ts
import { AbilityBuilder, MongoAbility } from '@casl/ability';

import { AuthorizationUser } from '../authorization-user';
import { defineArticlePermissions } from './article';
import { defineOrderPermissions } from './order';

export const definePermissionsArray: ((
  builder: AbilityBuilder<MongoAbility<any>>,
  user: AuthorizationUser,
) => void)[] = [
  defineArticlePermissions,
  defineOrderPermissions,
];
The benefit of this array is that adding a new subject becomes a two-line change: create the file, then push its function into the array. Nothing else in the system needs to know about it.
Each subject owns its actions and its rules. The factory only knows the list of subjects, not the details.
Step 5: the ability factory ⚙️
Now the piece that turns a user into a CASL ability. It loops over every permission function and lets each one register its rules into the same builder.
// ability.factory.ts
import { AbilityBuilder, createMongoAbility, MongoAbility } from '@casl/ability';
import { Injectable } from '@nestjs/common';

import { AppAbilityTuple } from './ability.interfaces';
import { AuthorizationUser } from './authorization-user';
import { definePermissionsArray } from './permissions';

@Injectable()
export class AbilityFactory {
  createForUser(user: AuthorizationUser) {
    const builder = new AbilityBuilder<MongoAbility<AppAbilityTuple>>(
      createMongoAbility,
    );

    definePermissionsArray.forEach((definePermissionFn) =>
      definePermissionFn(builder, user),
    );

    return builder.build();
  }
}
You might wonder why we use createMongoAbility instead of a plain ability. CASL ships with a "Mongo" flavor that understands MongoDB-style condition objects. We are not using conditions in this example, but choosing this factory now means that later we can write rules like this without changing the architecture:
allow('update', 'Article', { authorId: user.id });
That single line goes from role-based ("editors can update articles") to record-based ("editors can update their own articles"). It is worth keeping that door open from the start.
Step 6: wiring it into NestJS 🔌
So far this is just CASL and plain TypeScript. Now let's connect it to the framework with two small pieces: a decorator to declare what a route needs, and a guard to enforce it.
The CheckAbility decorator
The decorator only attaches metadata to the route handler. It does not contain logic.
// decorators/check-ability.decorator.ts
import { SetMetadata } from '@nestjs/common';

import { AppAbilityTuple } from '../ability.interfaces';

export const CHECK_ABILITY_KEY = Symbol('check_ability');

export const CheckAbility = (...abilities: AppAbilityTuple[]) =>
  SetMetadata(CHECK_ABILITY_KEY, abilities);
Because the parameter is typed as AppAbilityTuple, the decorator is type-safe too. You can only require abilities that actually exist:
@CheckAbility(['refund', 'Order']) // ✅ valid
@CheckAbility(['refund', 'Artcle']) // ❌ TypeScript error
The authorization guard
The guard reads the required abilities from the metadata, builds the user's ability, and checks every requirement.
// authorization.guard.ts
import { CanActivate, ExecutionContext, Injectable } from '@nestjs/common';
import { Reflector } from '@nestjs/core';

import { AbilityFactory } from './ability.factory';
import { AppAbilityTuple } from './ability.interfaces';
import { AuthorizationUser } from './authorization-user';
import { CHECK_ABILITY_KEY } from './decorators/check-ability.decorator';

@Injectable()
export class AuthorizationGuard implements CanActivate {
  constructor(
    private readonly reflector: Reflector,
    private readonly abilityFactory: AbilityFactory,
  ) {}

  private _getUser(context: ExecutionContext): AuthorizationUser {
    const request = context.switchToHttp().getRequest();
    const payload = request.user; // set by your auth guard / strategy

    return new AuthorizationUser(payload.id, payload.roles ?? []);
  }

  private _getPolicies(context: ExecutionContext): AppAbilityTuple[] {
    return (
      this.reflector.get<AppAbilityTuple[]>(
        CHECK_ABILITY_KEY,
        context.getHandler(),
      ) ?? []
    );
  }

  canActivate(context: ExecutionContext): boolean {
    const user = this._getUser(context);
    const policies = this._getPolicies(context);

    const ability = this.abilityFactory.createForUser(user);

    return policies.every((policy) => ability.can(...policy));
  }
}
The important line is the last one:
return policies.every((policy) => ability.can(...policy));
Each policy is a tuple like ['refund', 'Order'], and spreading it turns the check into ability.can('refund', 'Order'). If the route declared more than one requirement, all of them must pass. When canActivate returns false, NestJS automatically responds with 403 Forbidden.
This guard assumes another guard already authenticated the request and put the user on request.user. Authorization always runs after authentication.
The auth guard says who you are. The authorization guard says what you can do.
If your API is GraphQL instead of REST, the only thing that changes is how you read the request. CASL, the factory, the decorator, and the policy check stay exactly the same:
import { GqlExecutionContext } from '@nestjs/graphql';

private _getUser(context: ExecutionContext): AuthorizationUser {
  const ctx = GqlExecutionContext.create(context).getContext();
  const payload = ctx.req.user;

  return new AuthorizationUser(payload.id, payload.roles ?? []);
}
The module
Finally, group everything into a module and export the pieces other modules will need:
// authorization.module.ts
import { Module } from '@nestjs/common';

import { AbilityFactory } from './ability.factory';
import { AuthorizationGuard } from './authorization.guard';

@Module({
  providers: [AbilityFactory, AuthorizationGuard],
  exports: [AbilityFactory, AuthorizationGuard],
})
export class AuthorizationModule {}
Step 7: protecting a route 🛡️
With everything in place, protecting an endpoint becomes a single, readable line:
@Controller('orders')
@UseGuards(AuthGuard, AuthorizationGuard) // authn first, then authz
export class OrderController {
  constructor(private readonly orderService: OrderService) {}

  @Get()
  @CheckAbility(['search', 'Order'])
  search(@Query() query: SearchOrderDto) {
    return this.orderService.search(query);
  }

  @Post(':id/refund')
  @CheckAbility(['refund', 'Order'])
  refund(@Param('id') id: string) {
    return this.orderService.refund(id);
  }
}
Look at the refund method again and compare it with the one from the beginning of the post. There is no role check inside the handler anymore. The controller declares what permission the action needs, and the rule that decides who has it lives in permissions/order.ts. Those are two different responsibilities, and now they live in two different places.
If tomorrow the product team decides that editors can also refund orders, you change one line in one file, and every refund endpoint in the whole application respects it.
Step 8: testing the permissions ✅
This is one of my favorite parts of the structure. Because the permission rules are plain functions that receive a builder and a user, you can test them without booting NestJS, without HTTP, and without mocks for the whole request.
A couple of tiny helpers make the tests clean:
// _test/helpers.ts
import { AbilityBuilder, createMongoAbility, MongoAbility } from '@casl/ability';
import { AbilityTuple } from '@casl/ability/dist/types/types';

import { AuthorizationUser } from '../authorization-user';
import { Role } from '../role.enum';

export function userFactory(data?: { id?: string; roles?: Role[]; role?: Role }) {
  const roles = data?.roles ?? [data?.role ?? Role.SUPER_ADMIN];
  return new AuthorizationUser(data?.id ?? '1', roles);
}

export function abilityBuilderFactory<A extends AbilityTuple>() {
  return new AbilityBuilder<MongoAbility<A>>(createMongoAbility);
}
And now the test reads almost like a specification of the policy:
// _test/order.spec.ts
import { defineOrderPermissions, OrderActions } from '../permissions/order';
import { abilityBuilderFactory, userFactory } from './helpers';
import { Role } from '../role.enum';

const allActions: OrderActions[][] = [
  ['search'],
  ['details'],
  ['refund'],
  ['sendReceipt'],
];

describe('Order abilities', () => {
  describe.each([Role.SUPER_ADMIN, Role.SUPPORT])('When user is %s', (role) => {
    it.each(allActions)('should allow %s', (action) => {
      const user = userFactory({ role });
      const builder = abilityBuilderFactory();

      defineOrderPermissions(builder, user);
      const ability = builder.build();

      expect(ability.can(action, 'Order')).toBeTruthy();
    });
  });

  describe.each([Role.EDITOR, Role.VIEWER])('When user is %s', (role) => {
    it.each(allActions)('should not allow %s', (action) => {
      const user = userFactory({ role });
      const builder = abilityBuilderFactory();

      defineOrderPermissions(builder, user);
      const ability = builder.build();

      expect(ability.can(action, 'Order')).toBeFalsy();
    });
  });
});
With describe.each and it.each, every role and every action become a matrix of tiny, fast tests. When someone changes a permission by accident, the test suite tells you immediately, and the failing test name points exactly to the role and action that broke.
For an authorization layer, I think this is non-negotiable. Permissions are security, and security rules deserve tests that are easy to write so people actually write them.
Why this structure scales 📈
Let me connect the dots, because the value is in how the pieces fit together, not in any single file.
- One file per subject. When you need to know what can be done with an order, you open
permissions/order.ts. You never grep the whole codebase. - Typed actions and subjects. A typo becomes a compile error, not a production bug.
- The factory does not grow. Adding a subject means writing a file and pushing one function into an array. The factory, guard, and decorator never change.
- Business code stays clean. Controllers declare requirements; they do not implement rules.
- Everything is testable in isolation. The rules are pure functions over a builder and a user.
- Room to grow into conditions. Because we use
createMongoAbility, going from role-based to record-based checks is a local change inside a single permission file.
It is also worth saying what this is not. This is not a full RBAC/ABAC engine with a database of permissions, an admin UI, and runtime configuration. If your product needs roles and permissions that customers can edit at runtime, you will eventually want to load rules from a database into the same AbilityBuilder. The nice part is that the structure does not fight you: the factory is the single place where rules are assembled, so that is the only place that would need to read from a database instead of code.
Start with permissions in code. Move them to a database only when the product really needs runtime configuration.
Final thoughts
Authorization tends to start as a few if statements and slowly turns into one of the messiest parts of an application. The structure I showed here keeps it under control by giving every decision a home:
- The
Roleenum is the vocabulary. - The
AuthorizationUseranswers role questions. - Each
permissions/*.tsfile owns the rules for one subject. - The
AbilityFactoryassembles a CASL ability for the current user. - The
CheckAbilitydecorator declares what a route needs. - The
AuthorizationGuardenforces it. - The tests lock the behavior in place.
And @casl/ability is what makes all of this pleasant, because it lets us describe permissions as simple action + subject pairs and ask clean questions like ability.can('refund', 'Order').
That is it for today. I hope this gives you a solid starting point to organize authorization in your own NestJS applications.
Takeaways ✍️
- Separate "who has the permission" (rules) from "what the action needs" (controllers).
- Type your actions and subjects so typos fail at compile time.
- Keep one permission file per subject and register them in a single array.
- Use a guard plus a decorator so protecting a route is one readable line.
- Use
createMongoAbilityso you can grow into record-level conditions later. - Test your permissions with
describe.each— security rules deserve fast tests.